

DIY Local Proxy Cache
Setup a fast cache proxy server with proxy.py on your machine with just one command!


Table of contents
Proxies, or proxy servers, are computer programs that act as an intermediary between the user and the destination server. One often uses a proxy server to modify the way a user accesses a website, to redirect the user to a different website and so on.
In This Tutorial
We will be using proxy.py to setup a proxy server to cache and serve content from the internet.
Caching is the process of storing the content of a website in a local cache to speed up the loading of the website.
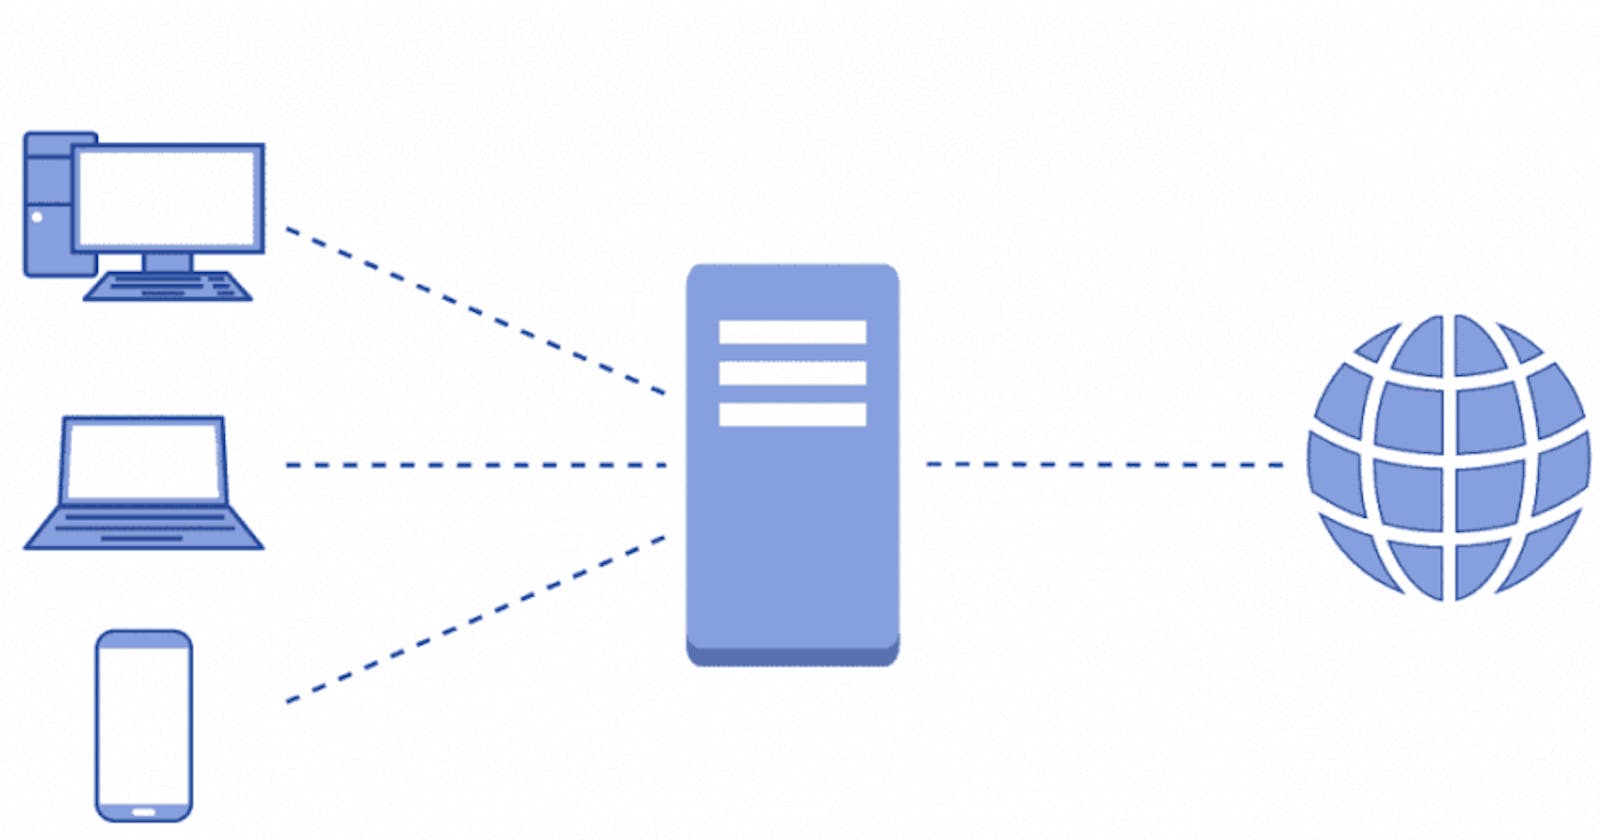
Imagine you have a lot of devices on the same network. Now if one device visits a website and the website is slow to load, without a proxy all the other devices will have to wait for the website to load.
With a proxy this issue can be minimized due to the caching of the website. The proxy server coordinates with the source server to cache documents such as files, images and web pages.
Prerequisites
⚠️ If you are using a Mac system, the Docker image is broken due to incompatibilities with vpnkit. However you can use Homebrew to install it.
Having a Raspberry Pi is not a requirement for this tutorial. Although if you have a Raspberry Pi you can use it to setup a proxy server.
We will be using Docker to setup the proxy server.
Install Docker from here - Docker Engine
One command is all it will take to setup this proxy.
docker run -d --restart unless-stopped -p 8899:8899 abhinavsingh/proxy.py:latest --plugins proxy.plugin.CacheResponsesPlugin --hostname 0.0.0.0
Explanation
docker run- Starts the proxy server.-d- Runs the proxy server in the background aka detached mode.--restart unless-stopped- Restarts the proxy server if it is stopped automatically, however if stopped automatically it will stop.-p 8899:8899- Sets the port to 8899 and expose the internal port of the Docker container to the internal network.abhinavsingh/proxy.py:latest- The proxy.py image.--plugins proxy.plugin.CacheResponsesPlugin- The plugin to cache responses as mentioned in the documentation here.--hostname 0.0.0.0- Sets the hostname to 0.0.0.0, which means that the proxy server will be accessible from any device on the network. This is important.
💡If you want to check out more about Docker commands, you can check out my article here.
Your proxy is now running on port 8899.
That's about it! You can set your device (recommended) or browser to use the proxy.
Setting It Up
Set your proxy IP to the IP address of the device the docker container is running on.
If you are running the container on a Mac or Linux system use ifconfig to get the IP address of your system.
If its Windows then ipconfig will print the IP address.
⚠️ Most of the times the DHCP server on your router should assign your device a static internal IP address, however if it doesn't, change your device settings from DHCP assignment to static assignment.
Linux
If you have a Linux system you will be finding your proxy settings in Network settings.
Since I use a Debian based distro I have it in Settings > Network > Proxy.
Windows
Settings > Network and Internet > Proxy
Final Notes
You can lookup how this proxy server can be used to connect to multiple devices on the same network. This was a tutorial for setting it up on one device.
If your router supports it, configure your router settings to use the proxy.