

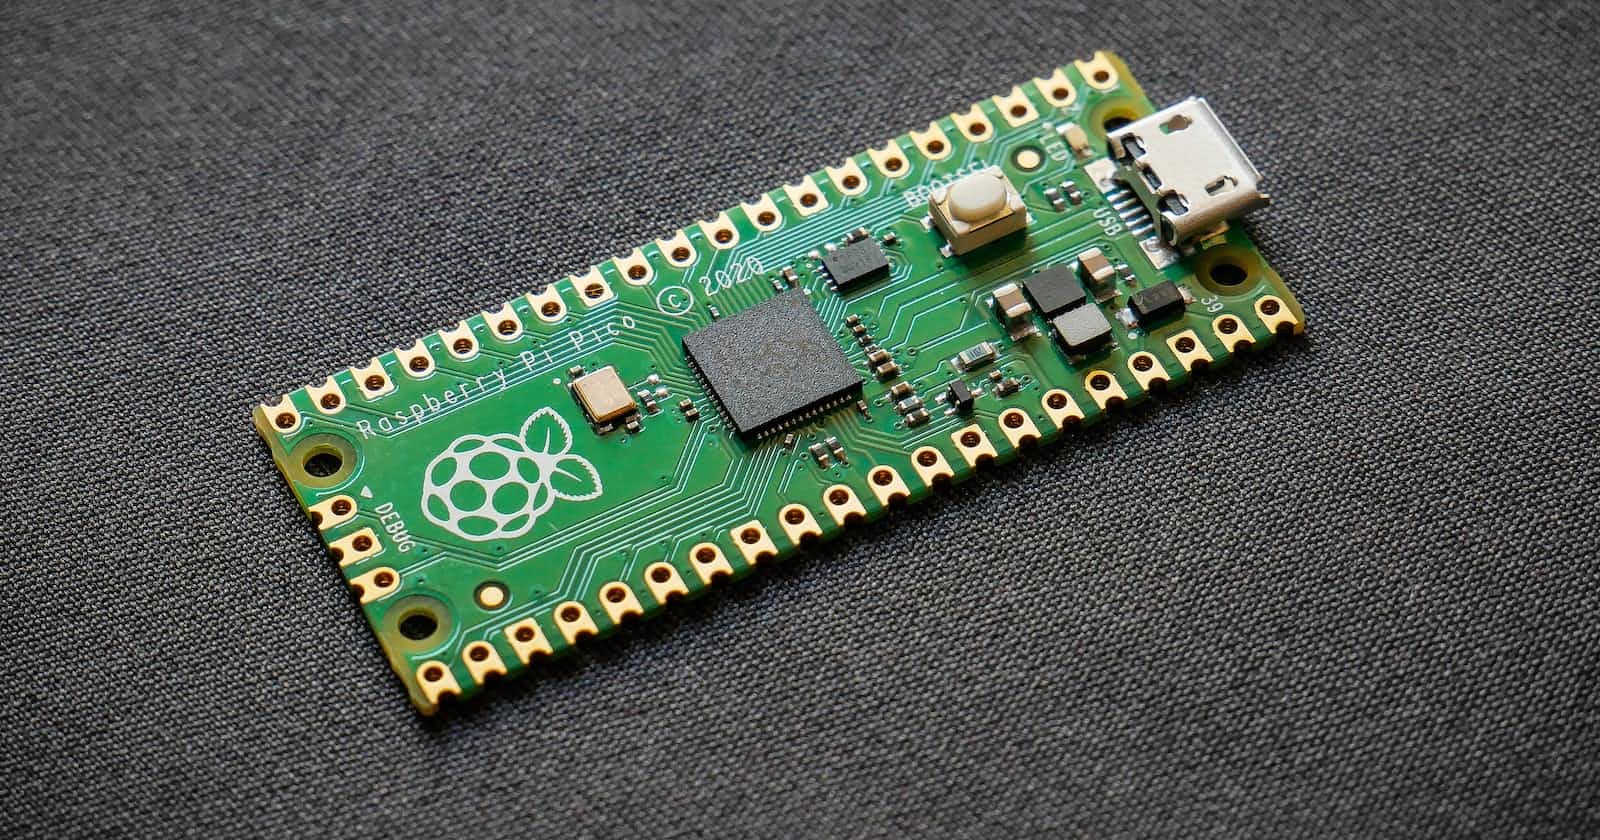

Ducky on Raspberry Pi Pico
Pico Ducky is a small USB ducky for Raspberry Pi. It is a cheap and easy to use USB ducky which can be used to automate tasks on your system.


Table of contents
A Pico Ducky is a USB rubber ducky, defined on the internet as - "USB Rubber ducky is an HID device that looks similar to a USB Pen drive. It may be used to inject keystroke into a system, used to hack a system, steal victims essential and credential data can inject payload to the victim's computers."
Getting Started
If you want to skip to the Github Repository here is the link.
Download the
.uf2file from CircuitPython for the Raspberry Pi PicoPlug the device into a USB port while holding the boot button. It will show up as a removable media device named
RPI-RP2.Copy the downloaded
.uf2file to the root of the Pico (RPI-RP2). The device will reboot and after a second or so, it will reconnect asCIRCUITPY.Download
adafruit-circuitpython-bundle-7.x-mpy-YYYYMMDD.zipfrom here and extract it on your main device (not the Pico).Navigate to
libin the recently extracted folder and copyadafruit_hidto thelibfolder in your Raspberry Pi Pico.Click here, press CTRL + S and save the file as
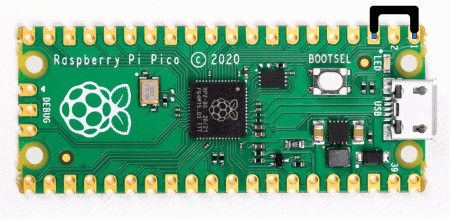
code.pyin the root of the Raspberry Pi Pico, overwriting the previous file.Before the next step, let us enter setup mode. To enter setup mode by connecting the pin 1 (
GP0) to pin 3 (GND), this will stop the pico-ducky from injecting the payload in your own machine. The easiest way to so is by using a jumper wire between those pins as seen bellow.
Find a script here or create your own one using Ducky Script and save it as
payload.ddin the Pico.Be careful, if your device isn't in setup mode, the device will reboot and after half a second, the script will run.
Enable Disable Mode
If you need the pico-ducky to not show up as a USB mass storage device for stealth, follow these instructions.
- Enter setup mode.
- Copy boot.py to the root of the pico-ducky.
- Copy your payload script to the pico-ducky.
- Disconnect the pico from your host PC.
- Connect a jumper wire between pin 18 (
GND) and pin 20 (GPIO15). - This will prevent the pico-ducky from showing up as a USB drive when plugged into the target computer.
- Remove the jumper and reconnect to your PC to reprogram.
- The default mode is USB mass storage enabled.